



In the first part of the airflow guide, we’ve discussed the most important considerations for achieving good airflow in your case. In this second part, we want to take a closer look at airflow by exploring specific setups based on the number of case fans installed, and by looking at differences between an air- and water-cooled system.
Positive/negative/neutral pressure
You will likely have come across the terms positive, negative and neutral pressure when looking at information on airflow in computer cases. Put simply, these words describe the ratio of air being pulled into the case vs. air being pushed out of the case. Positive pressure is created when more air is being pulled in, e.g. by a higher number or faster intake fans, than is expelled from the case. Negative pressure describes the opposite scenario, where more air is being pushed out of the case than is being pulled in. In a neutral case pressure scenario, roughly the same amount of air is being pulled in as is being pushed out.


All three options have their pros and cons. Positive pressure reduces the amount of dust and debris that enters the case, but warm air might build up more easily. While negative pressure quickly expels warm air, it might also draw in particles through any small openings such as gaps between the side panel and the case or through panels without dust filters. Neutral pressure can be considered a compromise, with a continuous stream of fresh air flowing through the case, and a lower amount of dust being pulled into the case.
Air-cooling vs. water-cooling
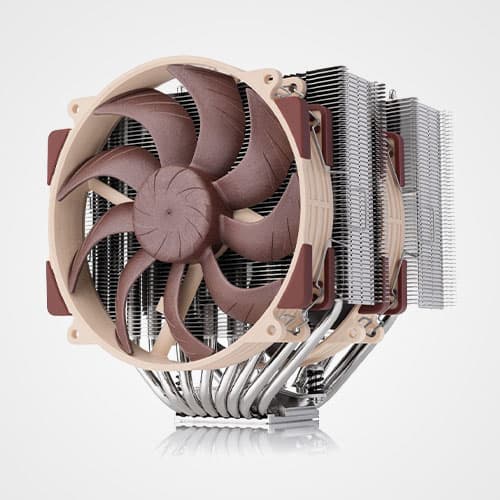
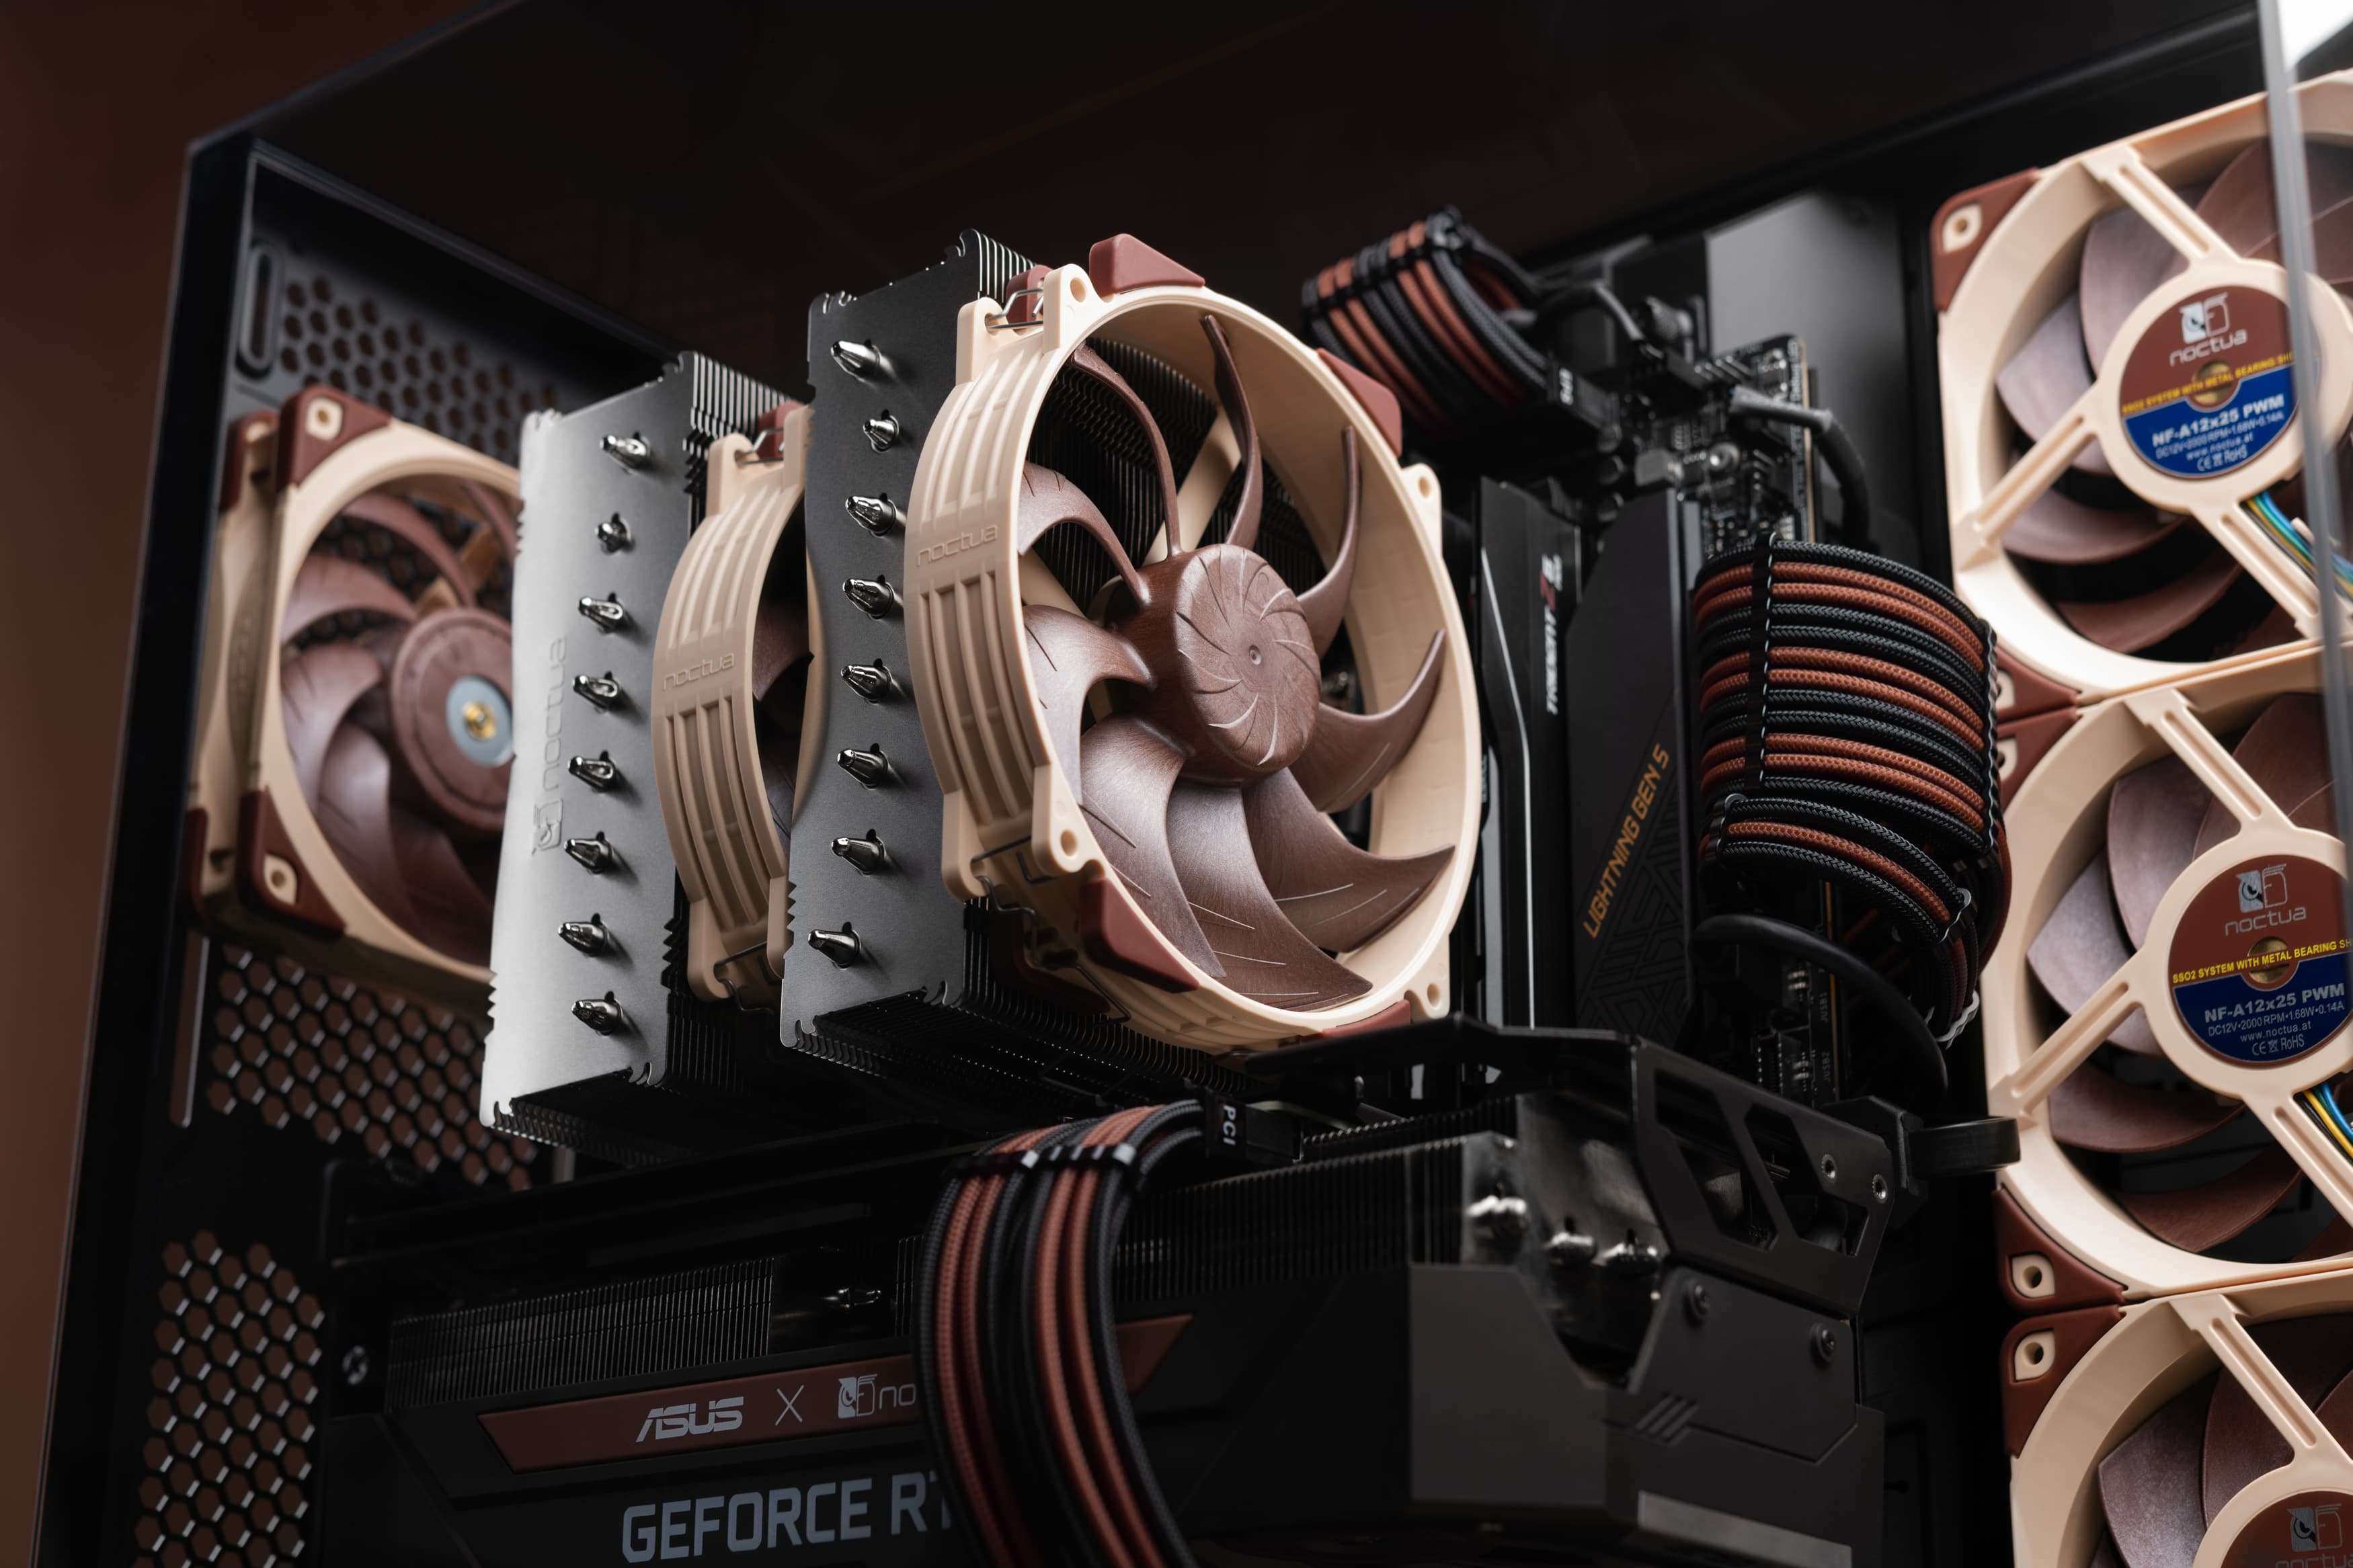
Most of our tower-style CPU air coolers utilise an airflow direction from the front of the case towards the back when they are installed on the motherboard in their standard orientation. This should be considered when planning the case fan setup, as ideally all case fans follow this airflow direction. For example, a classic setup with several front intake fans combined with a rear exhaust fan and potentially an extra top exhaust fan directly above or slightly behind the cooler typically works best. In some cases, adding another top intake fan with an inlet spacer right in front of the cooler as described in our Fractal North blog article can be helpful too.
Liquid cooling tends to come with a range of installation options, as the radiator can usually be installed in more than one position depending on the case and the user’s preference. In most setups, a front or side mount of the radiator with intake fans pushing through the radiator is recommended for lowest CPU temperatures, while a top mount with exhaust fans pushing air through the radiator is recommended for lowest GPU temperatures.
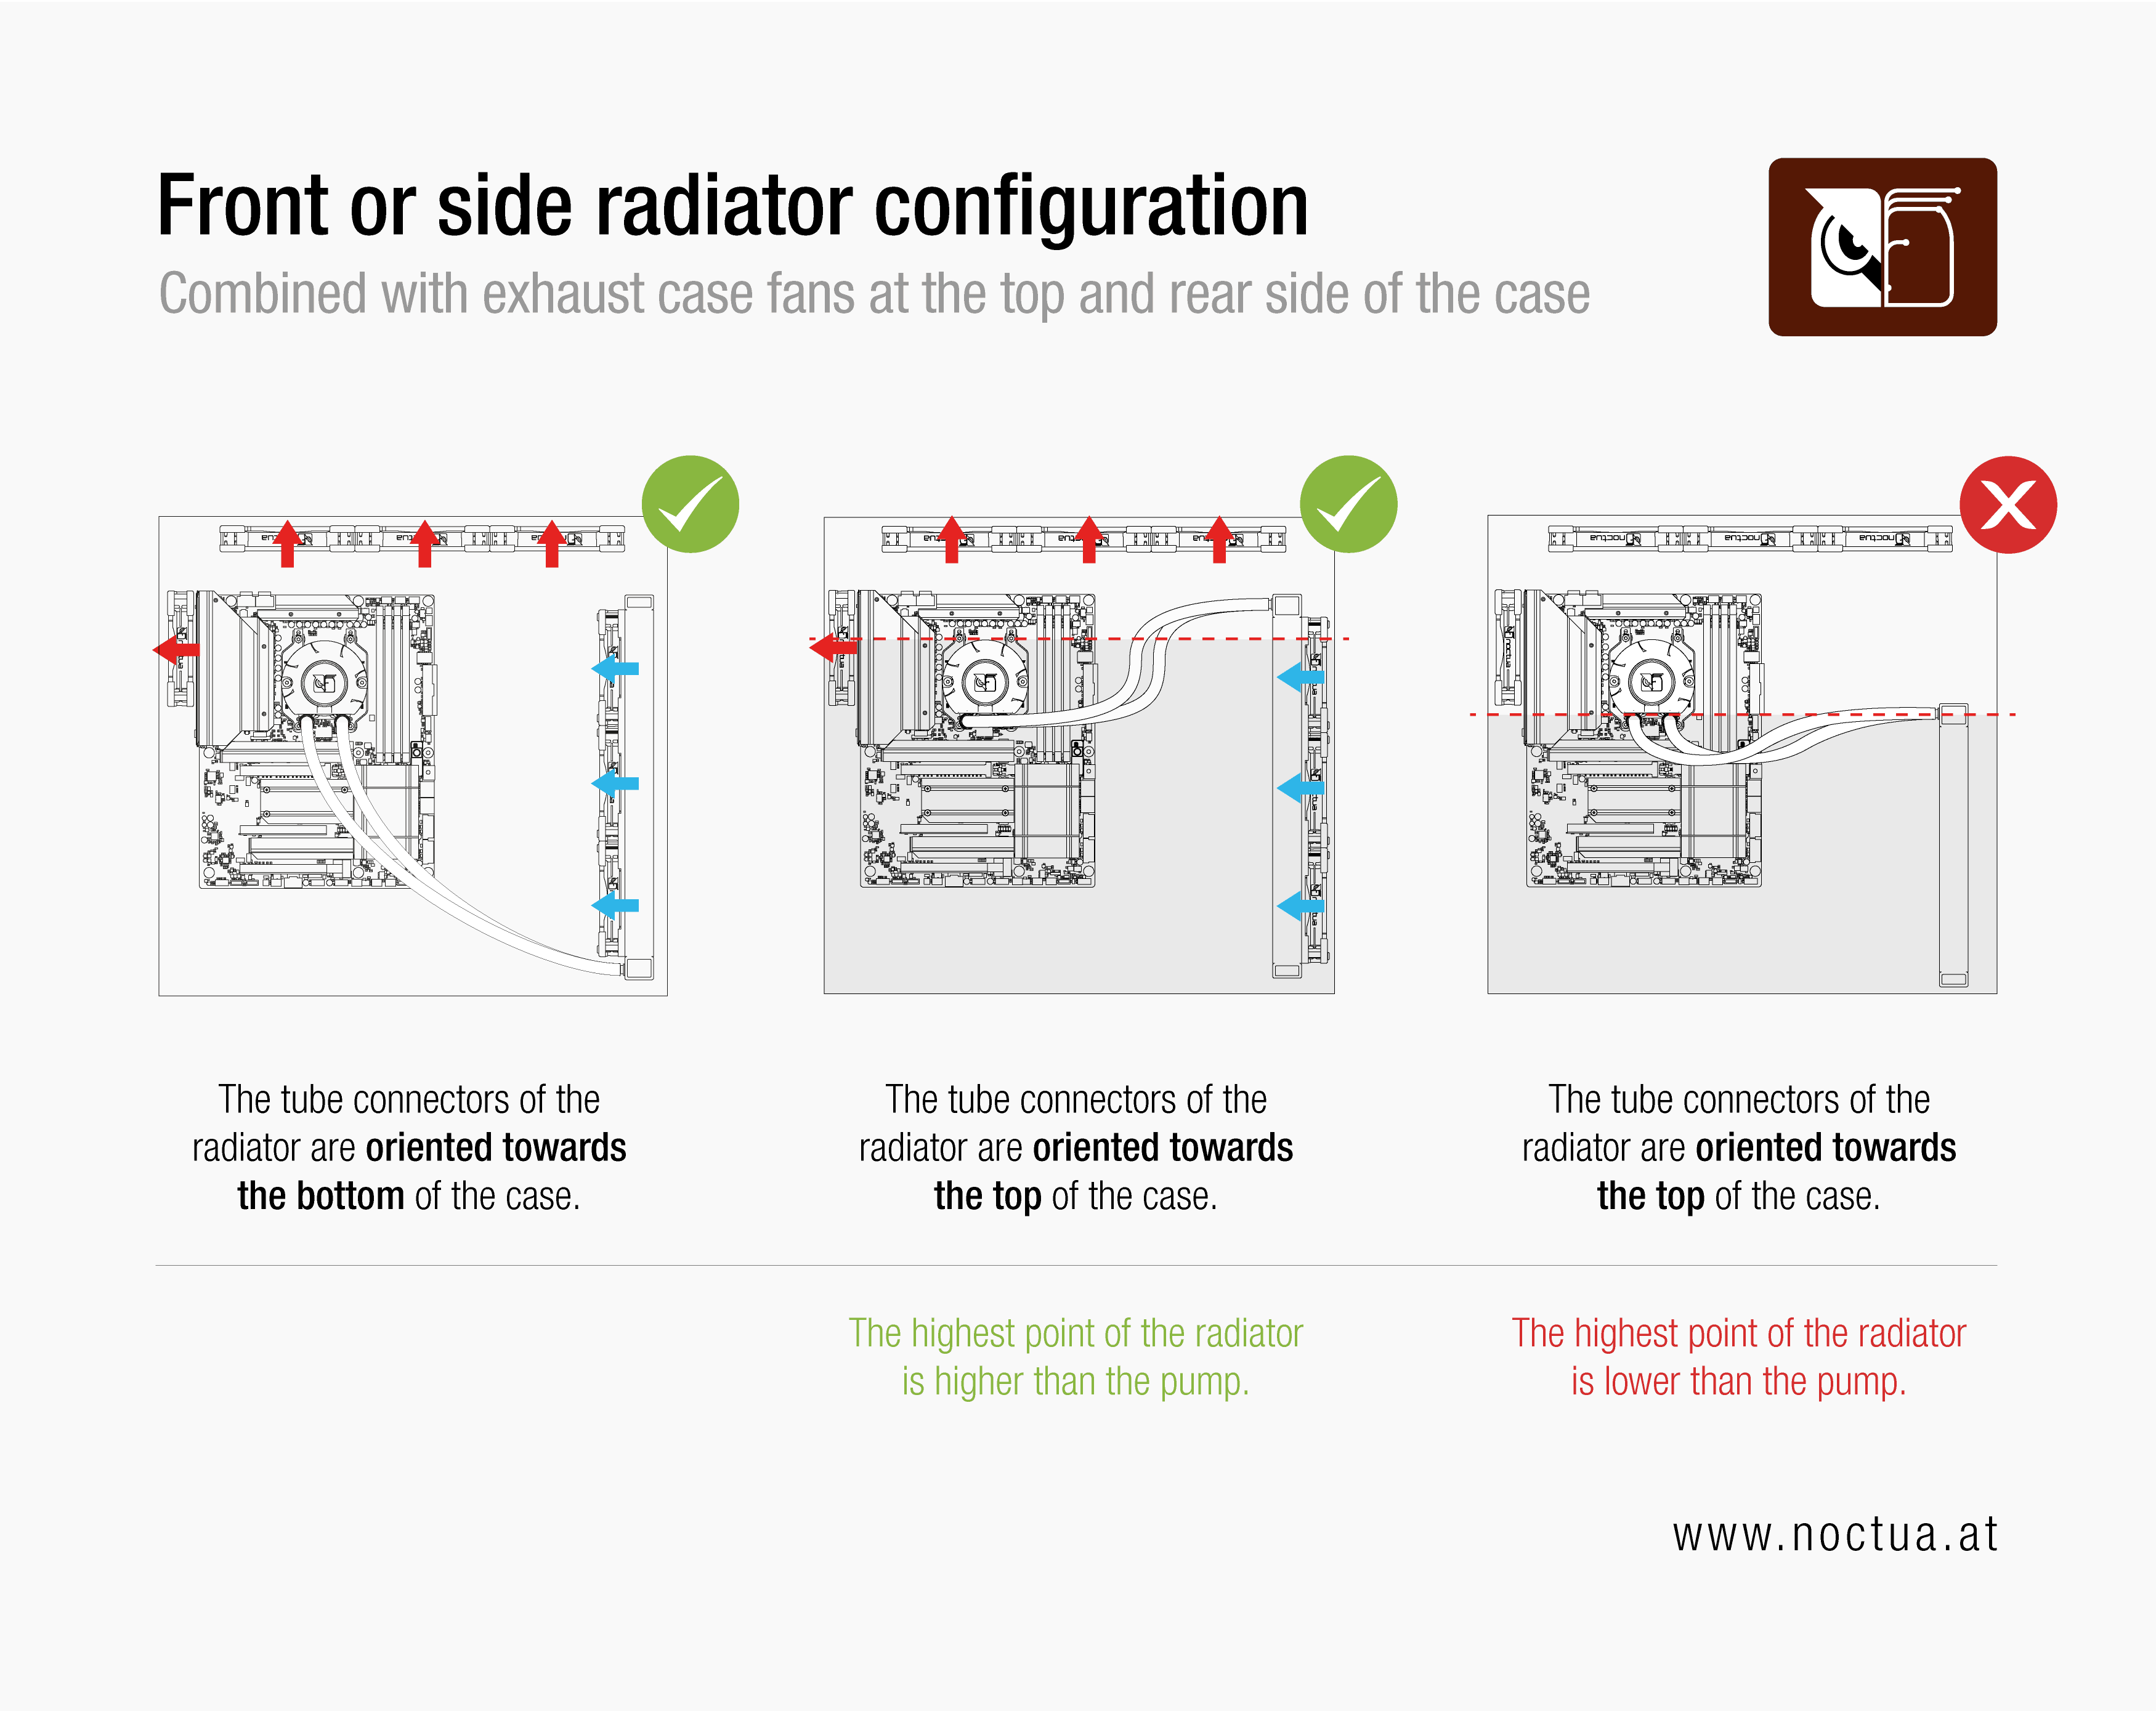
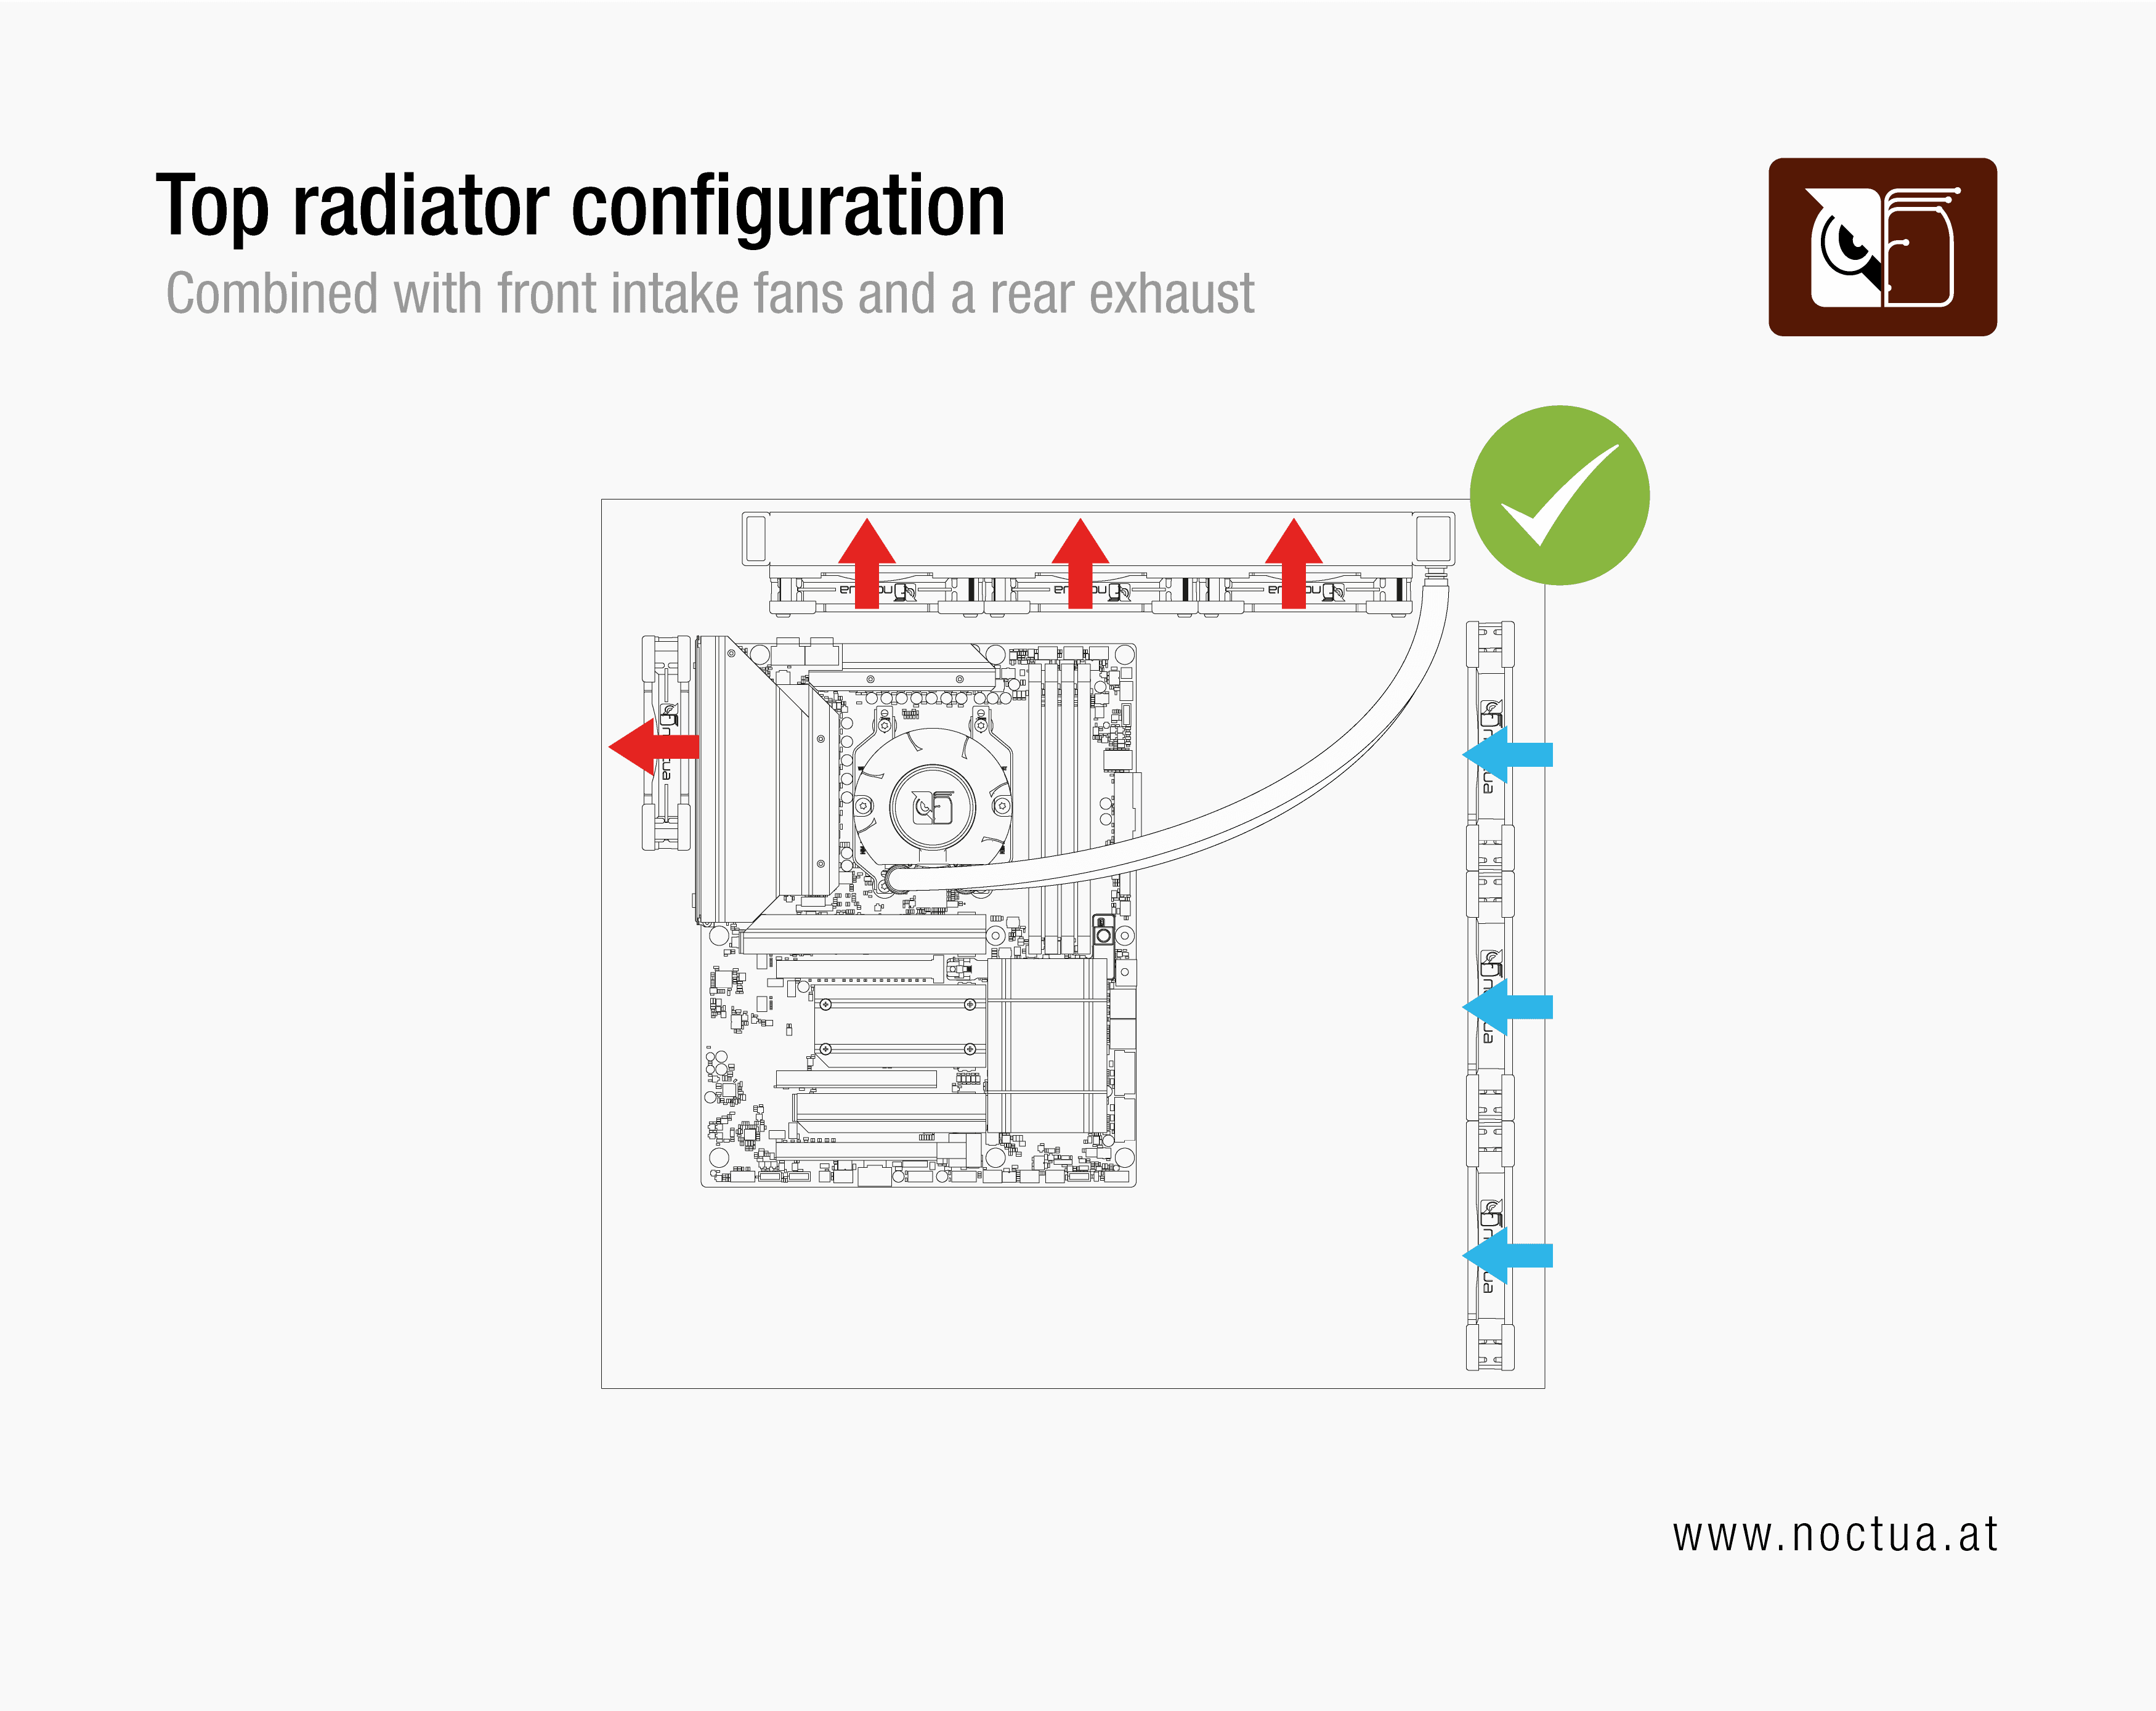
The basic principle for case airflow remains the same when using liquid cooling: Ideally, all fans in the case follow roughly the same airflow path and intake or exhaust fans should complement your radiator setup. If you install the radiator in the front or side with intake fans, pair it with top and rear exhaust fans to make sure warm air is expelled efficiently. Conversely, if you install the radiator exhausting through the top, combine it with front or side intake fans to make sure it gets enough fresh air.
Turbulences in the airflow path, for example by the air stream of two fans meeting head-on, should be avoided, as they have a negative impact on the cooling and will create audible noise. Even cables and other small obstructions can cause such sounds, which can be avoided by neat cable management.
General fan placement recommendations
As noted in part 1, there is no one-size-fits-all approach to case airflow. That said, the following recommendations tend to work well with a standard front-to-back airflow configuration.
Front-to-back airflow
In a standard front-to-back configuration, front fans are installed as intake and rear fans as exhaust fans. If top or bottom fans are used, bottom fans are generally intake, and top fans are exhaust fans.
Tip: There is an exception to this. As mentioned above, with tower-style air CPU coolers such as the NH-D15 series, a fan at the top of the case that is installed close to the front of the case can also be installed as an intake fan to provide the air cooler with fresh air.
Front-to-back airflow with side intake fans
Some cases, such as the Lian Li O11 Dynamic and NZXT H6 FLOW, have intake fan slots on the side rather than at the front. For this guide, these can be treated the same as front intake fans. If you have one of these cases, whenever we refer to a front intake fan, this will refer to a side intake fan in your chassis.
Bottom-to-top airflow
Some setups do not follow a front-to-back configuration but instead use bottom-to-top airflow, with intake fans at the bottom and exhaust fans at the top, but with no or fewer fans at the front and back.
Not sure whether a front-to-back or bottom-to-top airflow is right for you? Unless you are an experienced user with a specialised setup, we recommend a front-to-back configuration.
Recommended fan placements by number of fans
Number of case fans | Recommended placement |
|---|---|
3 | 2 intake fans in the front, 1 exhaust at the back |
4 | + 1 intake fan at the front |
5 (recommended baseline) | + 1 exhaust fan at the top (installed in the position closest to the back) |
6 | + 1 intake fan at the top (in the position closest to the front) OR |
7 | + 1 intake fan at the bottom |
8 | + 1 intake fan at the bottom |
9 | + 1 exhaust fan at the top |
Noctua case studies
As a manufacturer of premium cooling solution, we continuously run a wide array of hardware tests and share some of our findings in articles. If you’re interested in our findings regarding airflow, take a look at these caste studies:
Mentioned products
Explore the products featured in this article.
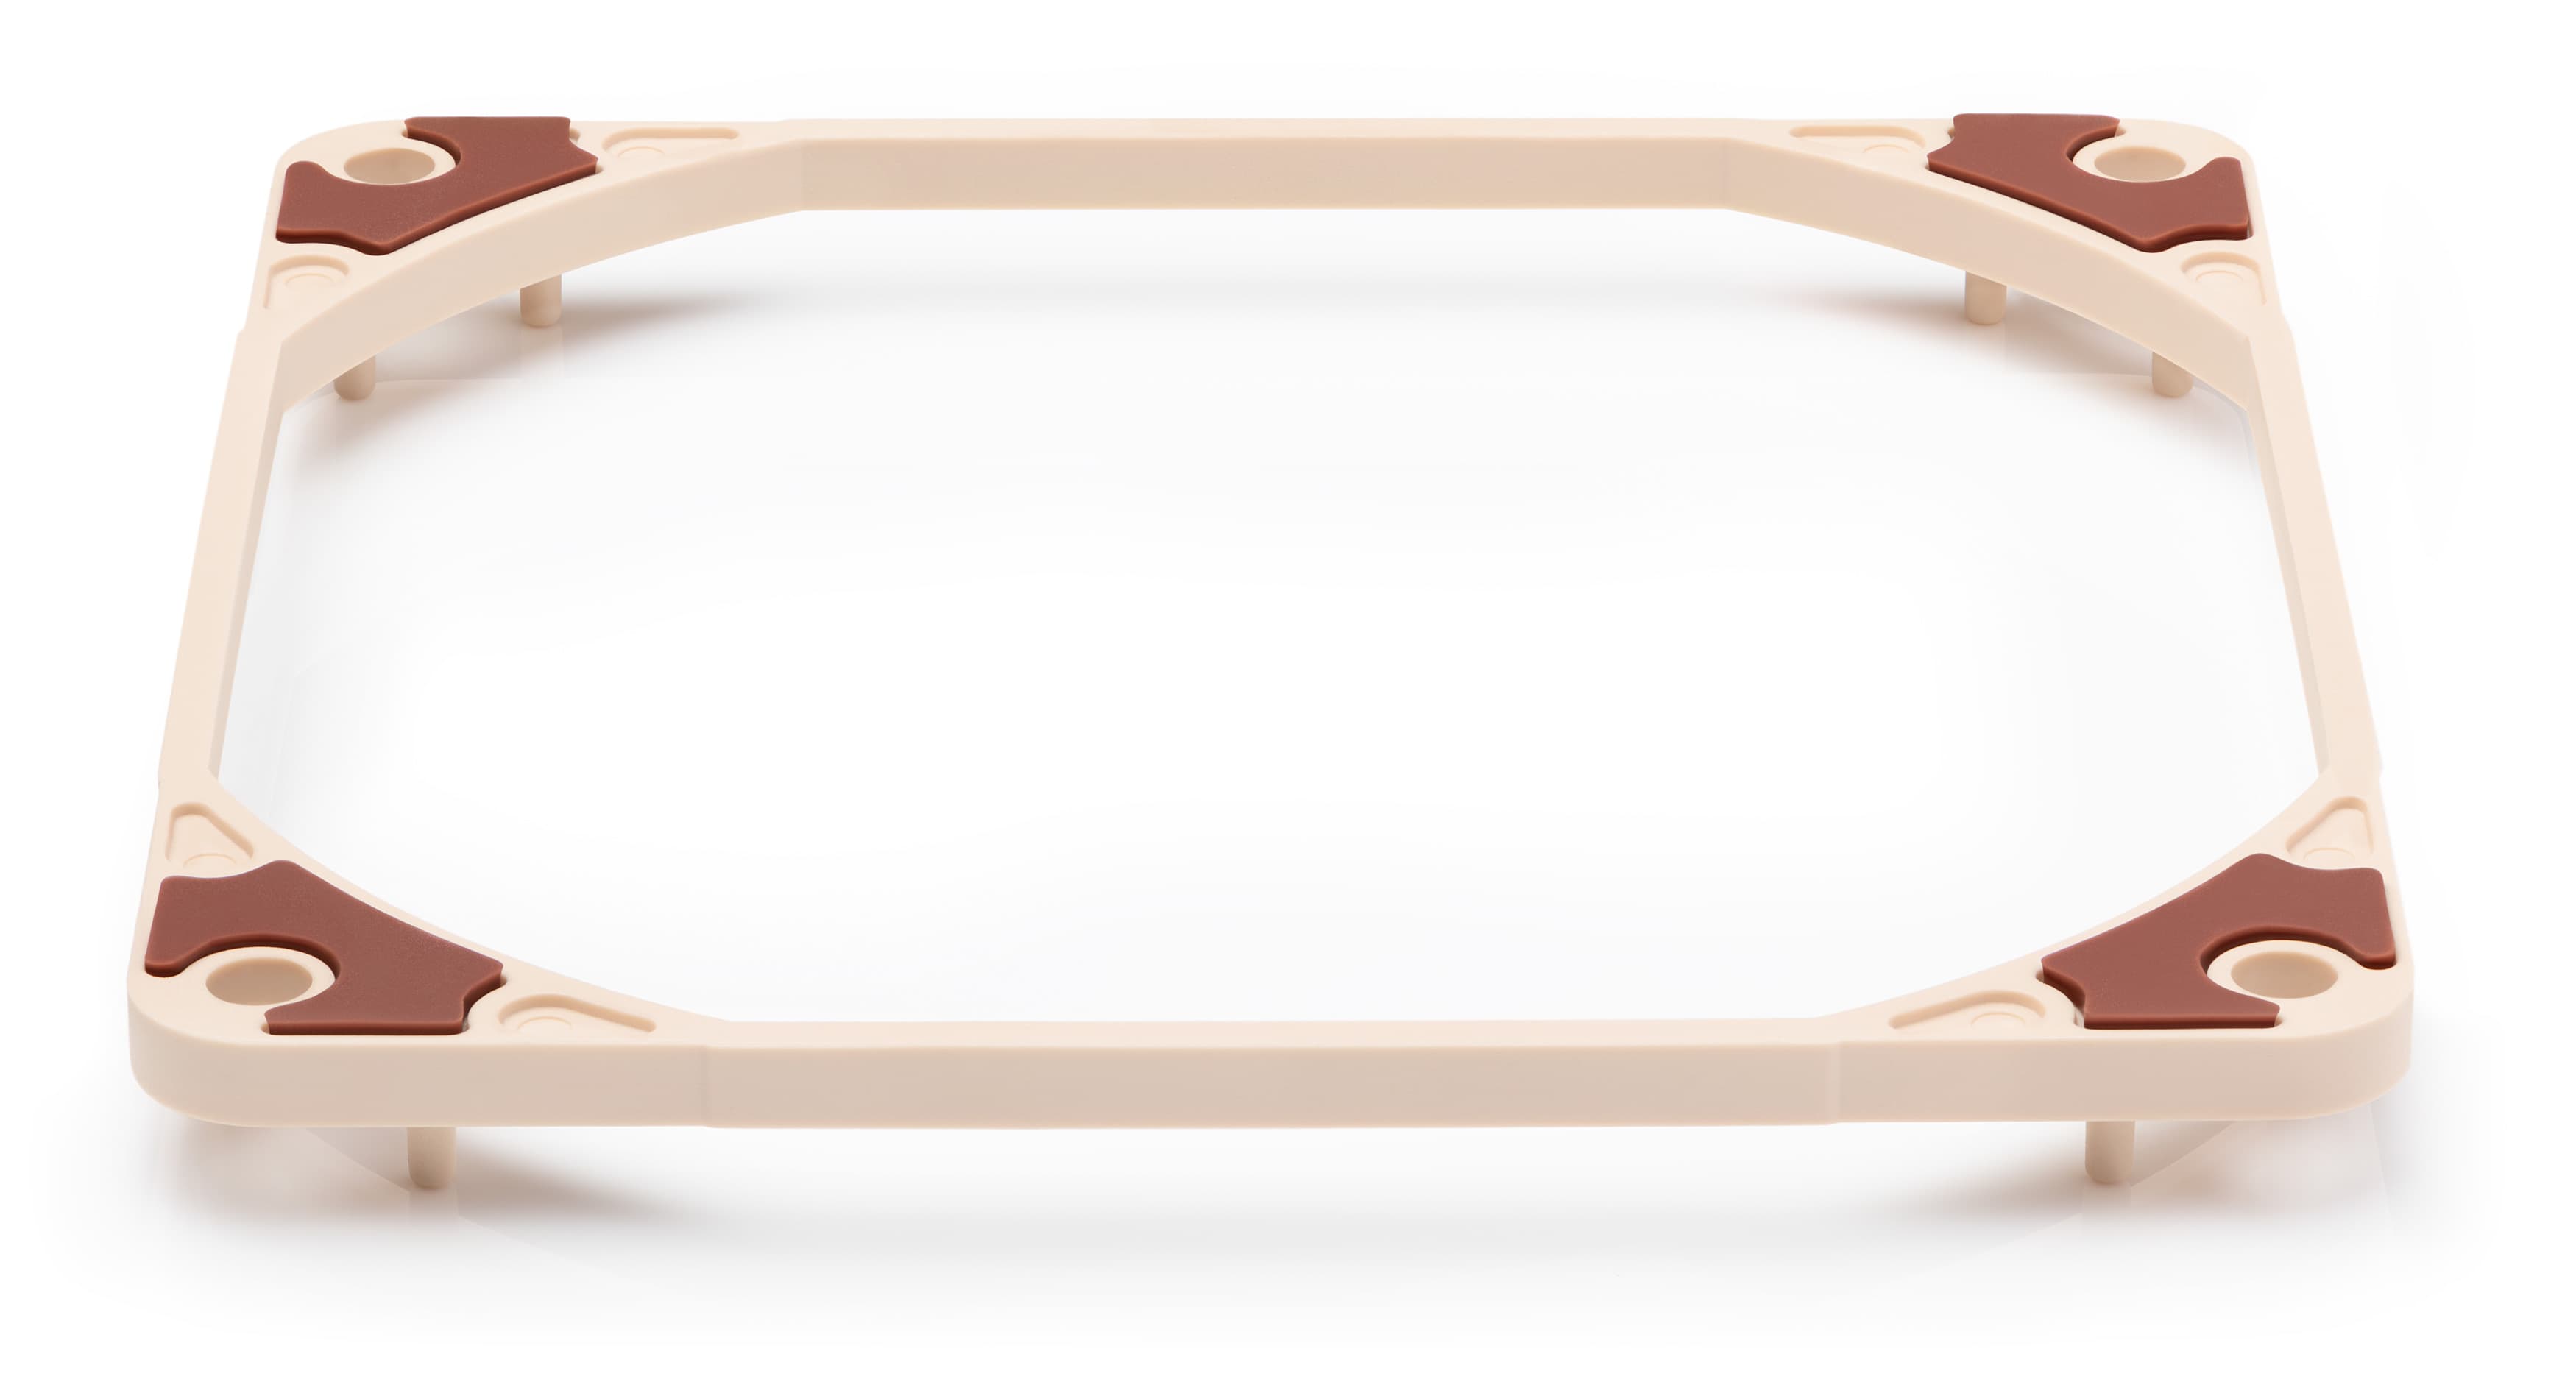
NA-IS1-12 Sx2
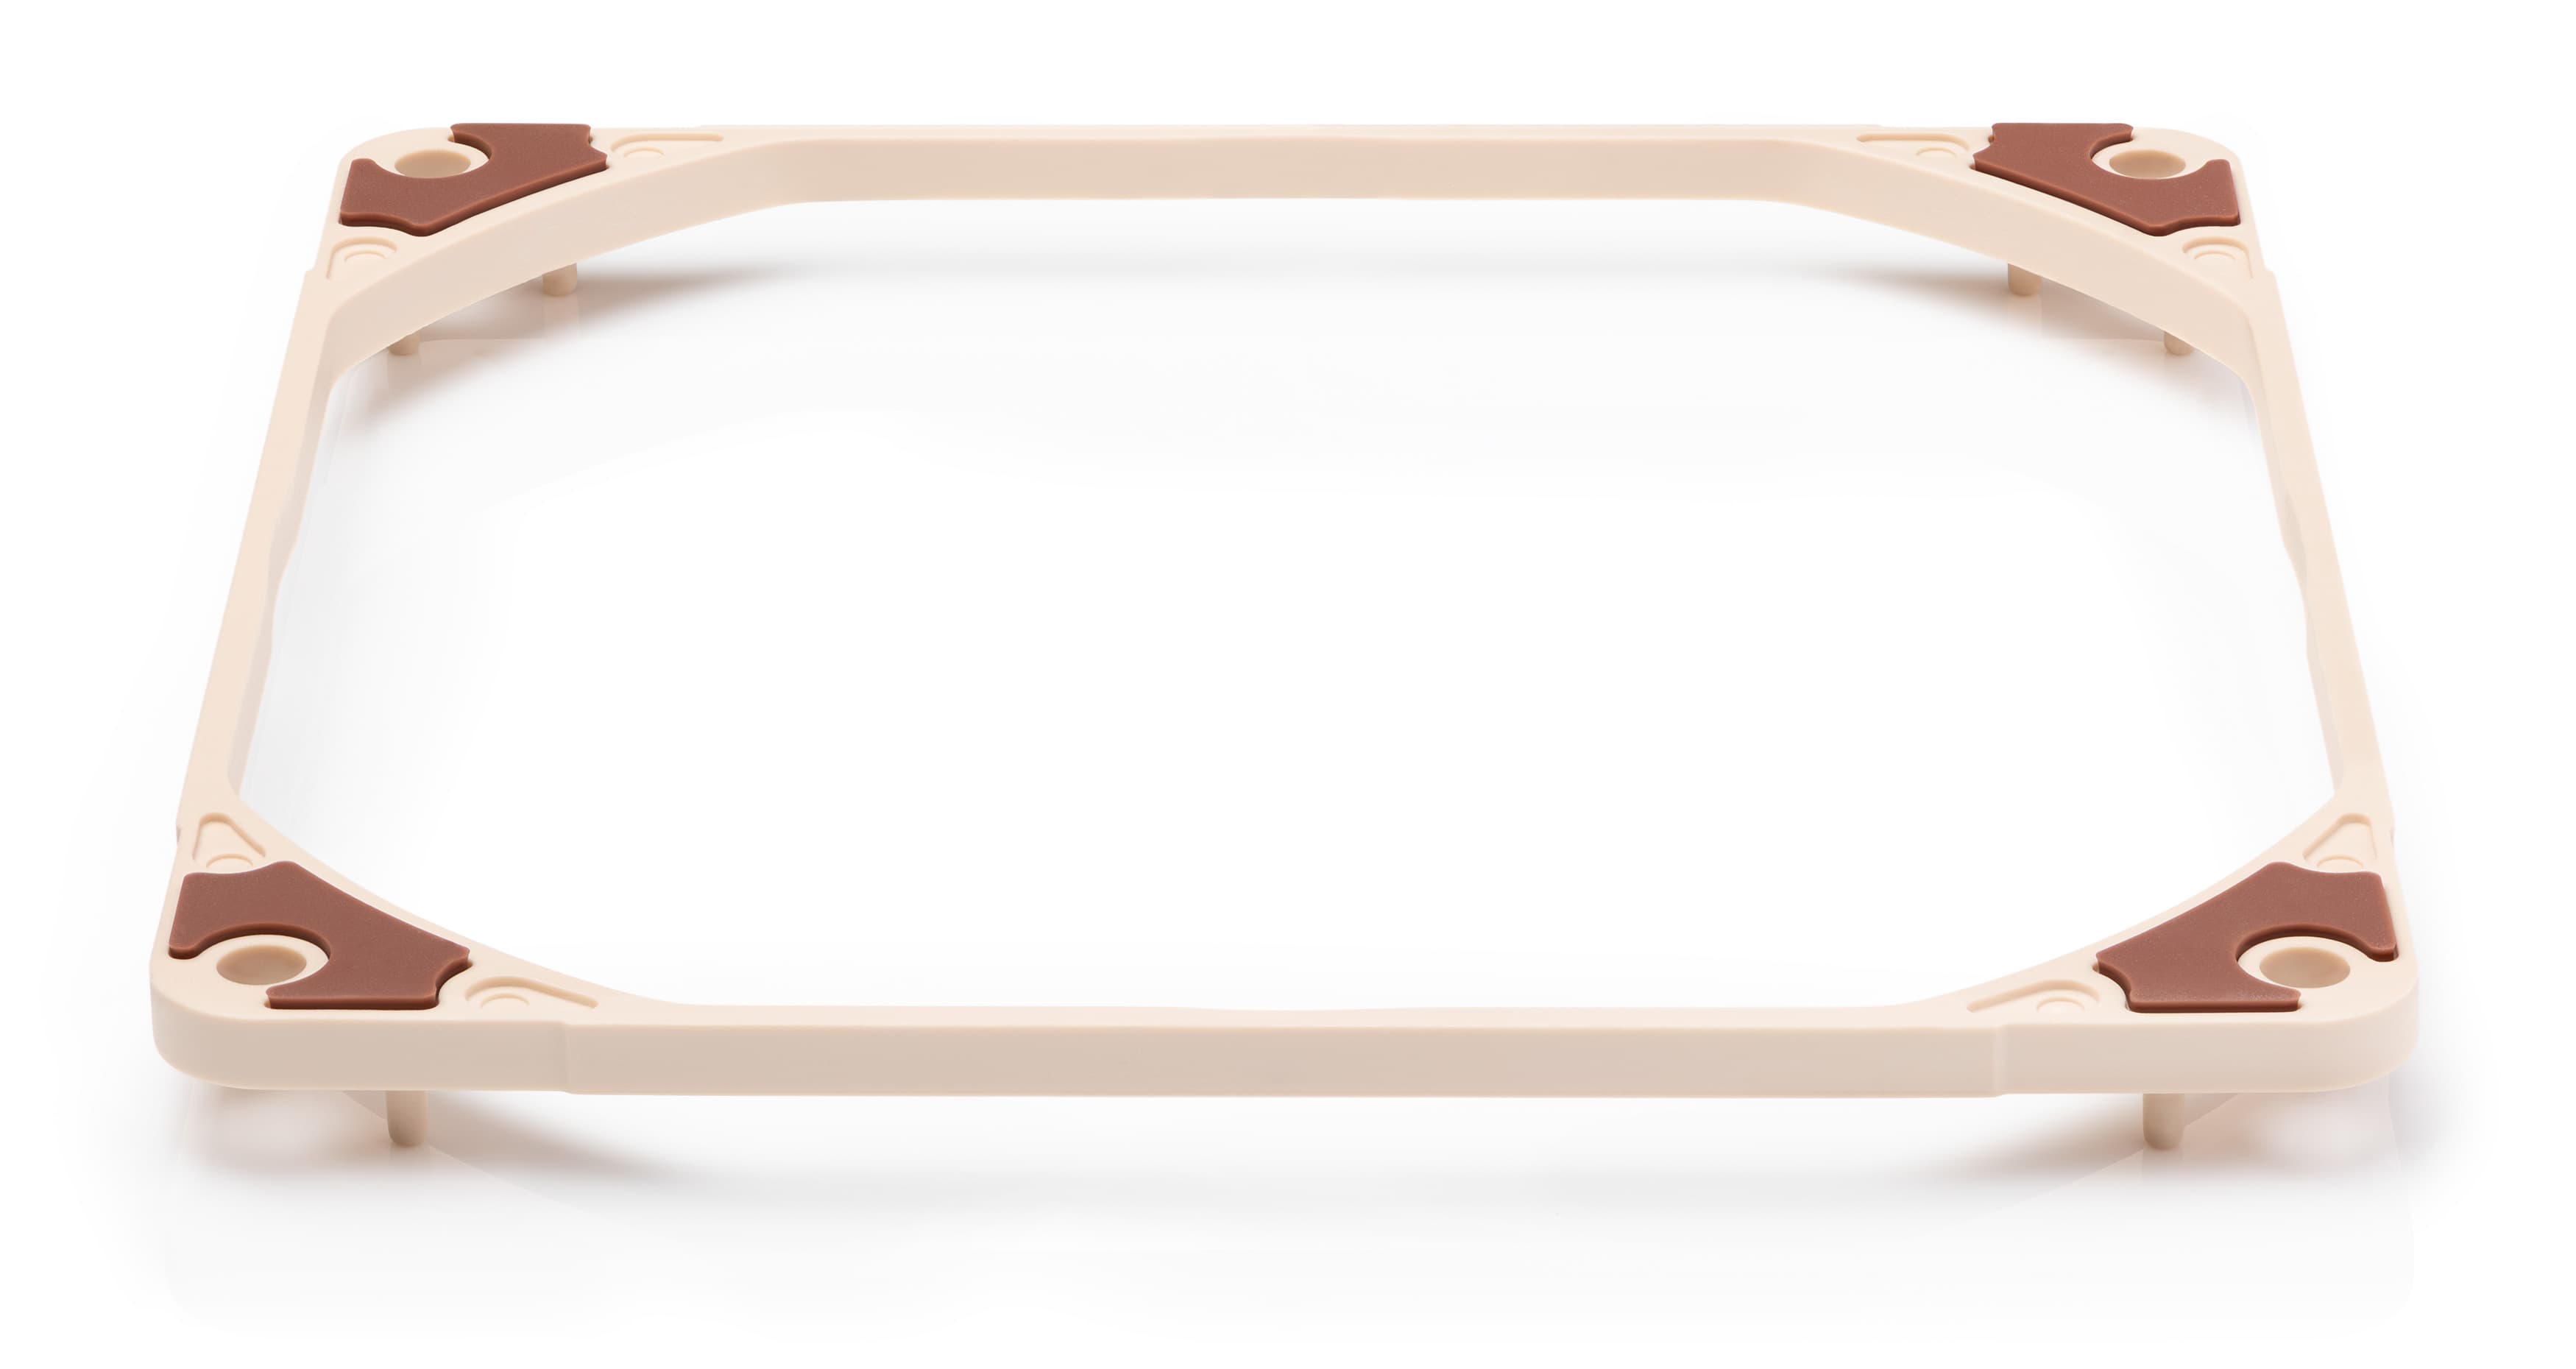
NA-IS1-14 Sx2
Related articles
Want to learn more? Explore related articles and resources.
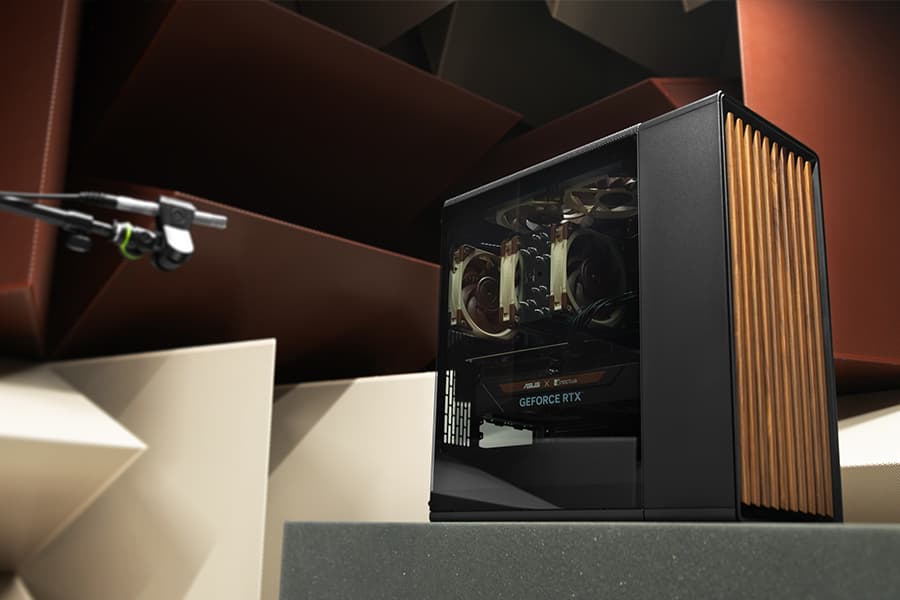
Which fan setup works best in the Fractal Design North?
20/03/2025
Fractal Design’s North case and our NF-A12x25 fans are a great match, both visually and from a performance point of view: But which configuration offers optimal performance?
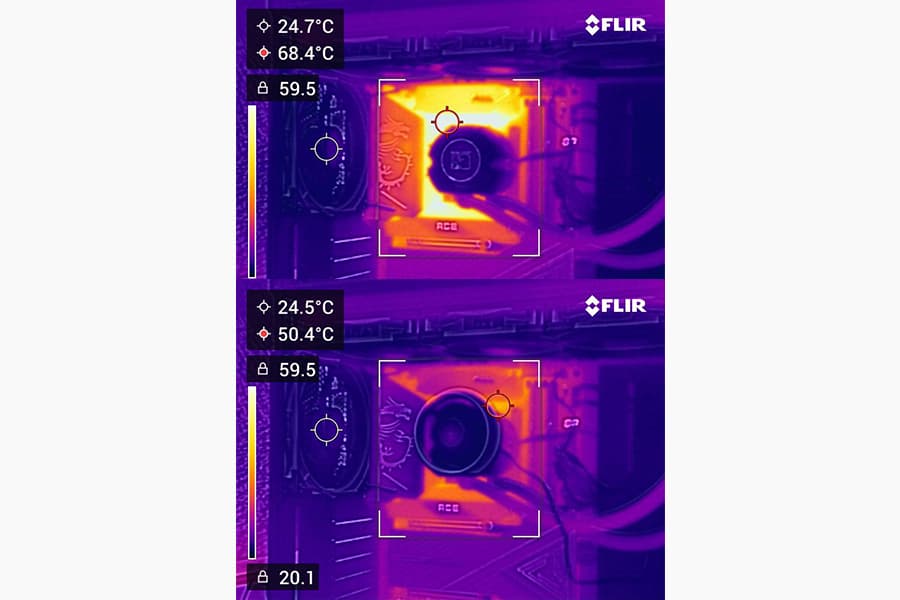
Should I use the NL-ACF1 auxiliary cooling fan?
The NL-ACF1 is an optional auxiliary cooling fan for NL-LC1 liquid coolers that provides extra airflow to near-socket compontents such as VRMs, M.2 SSDs or RAM.
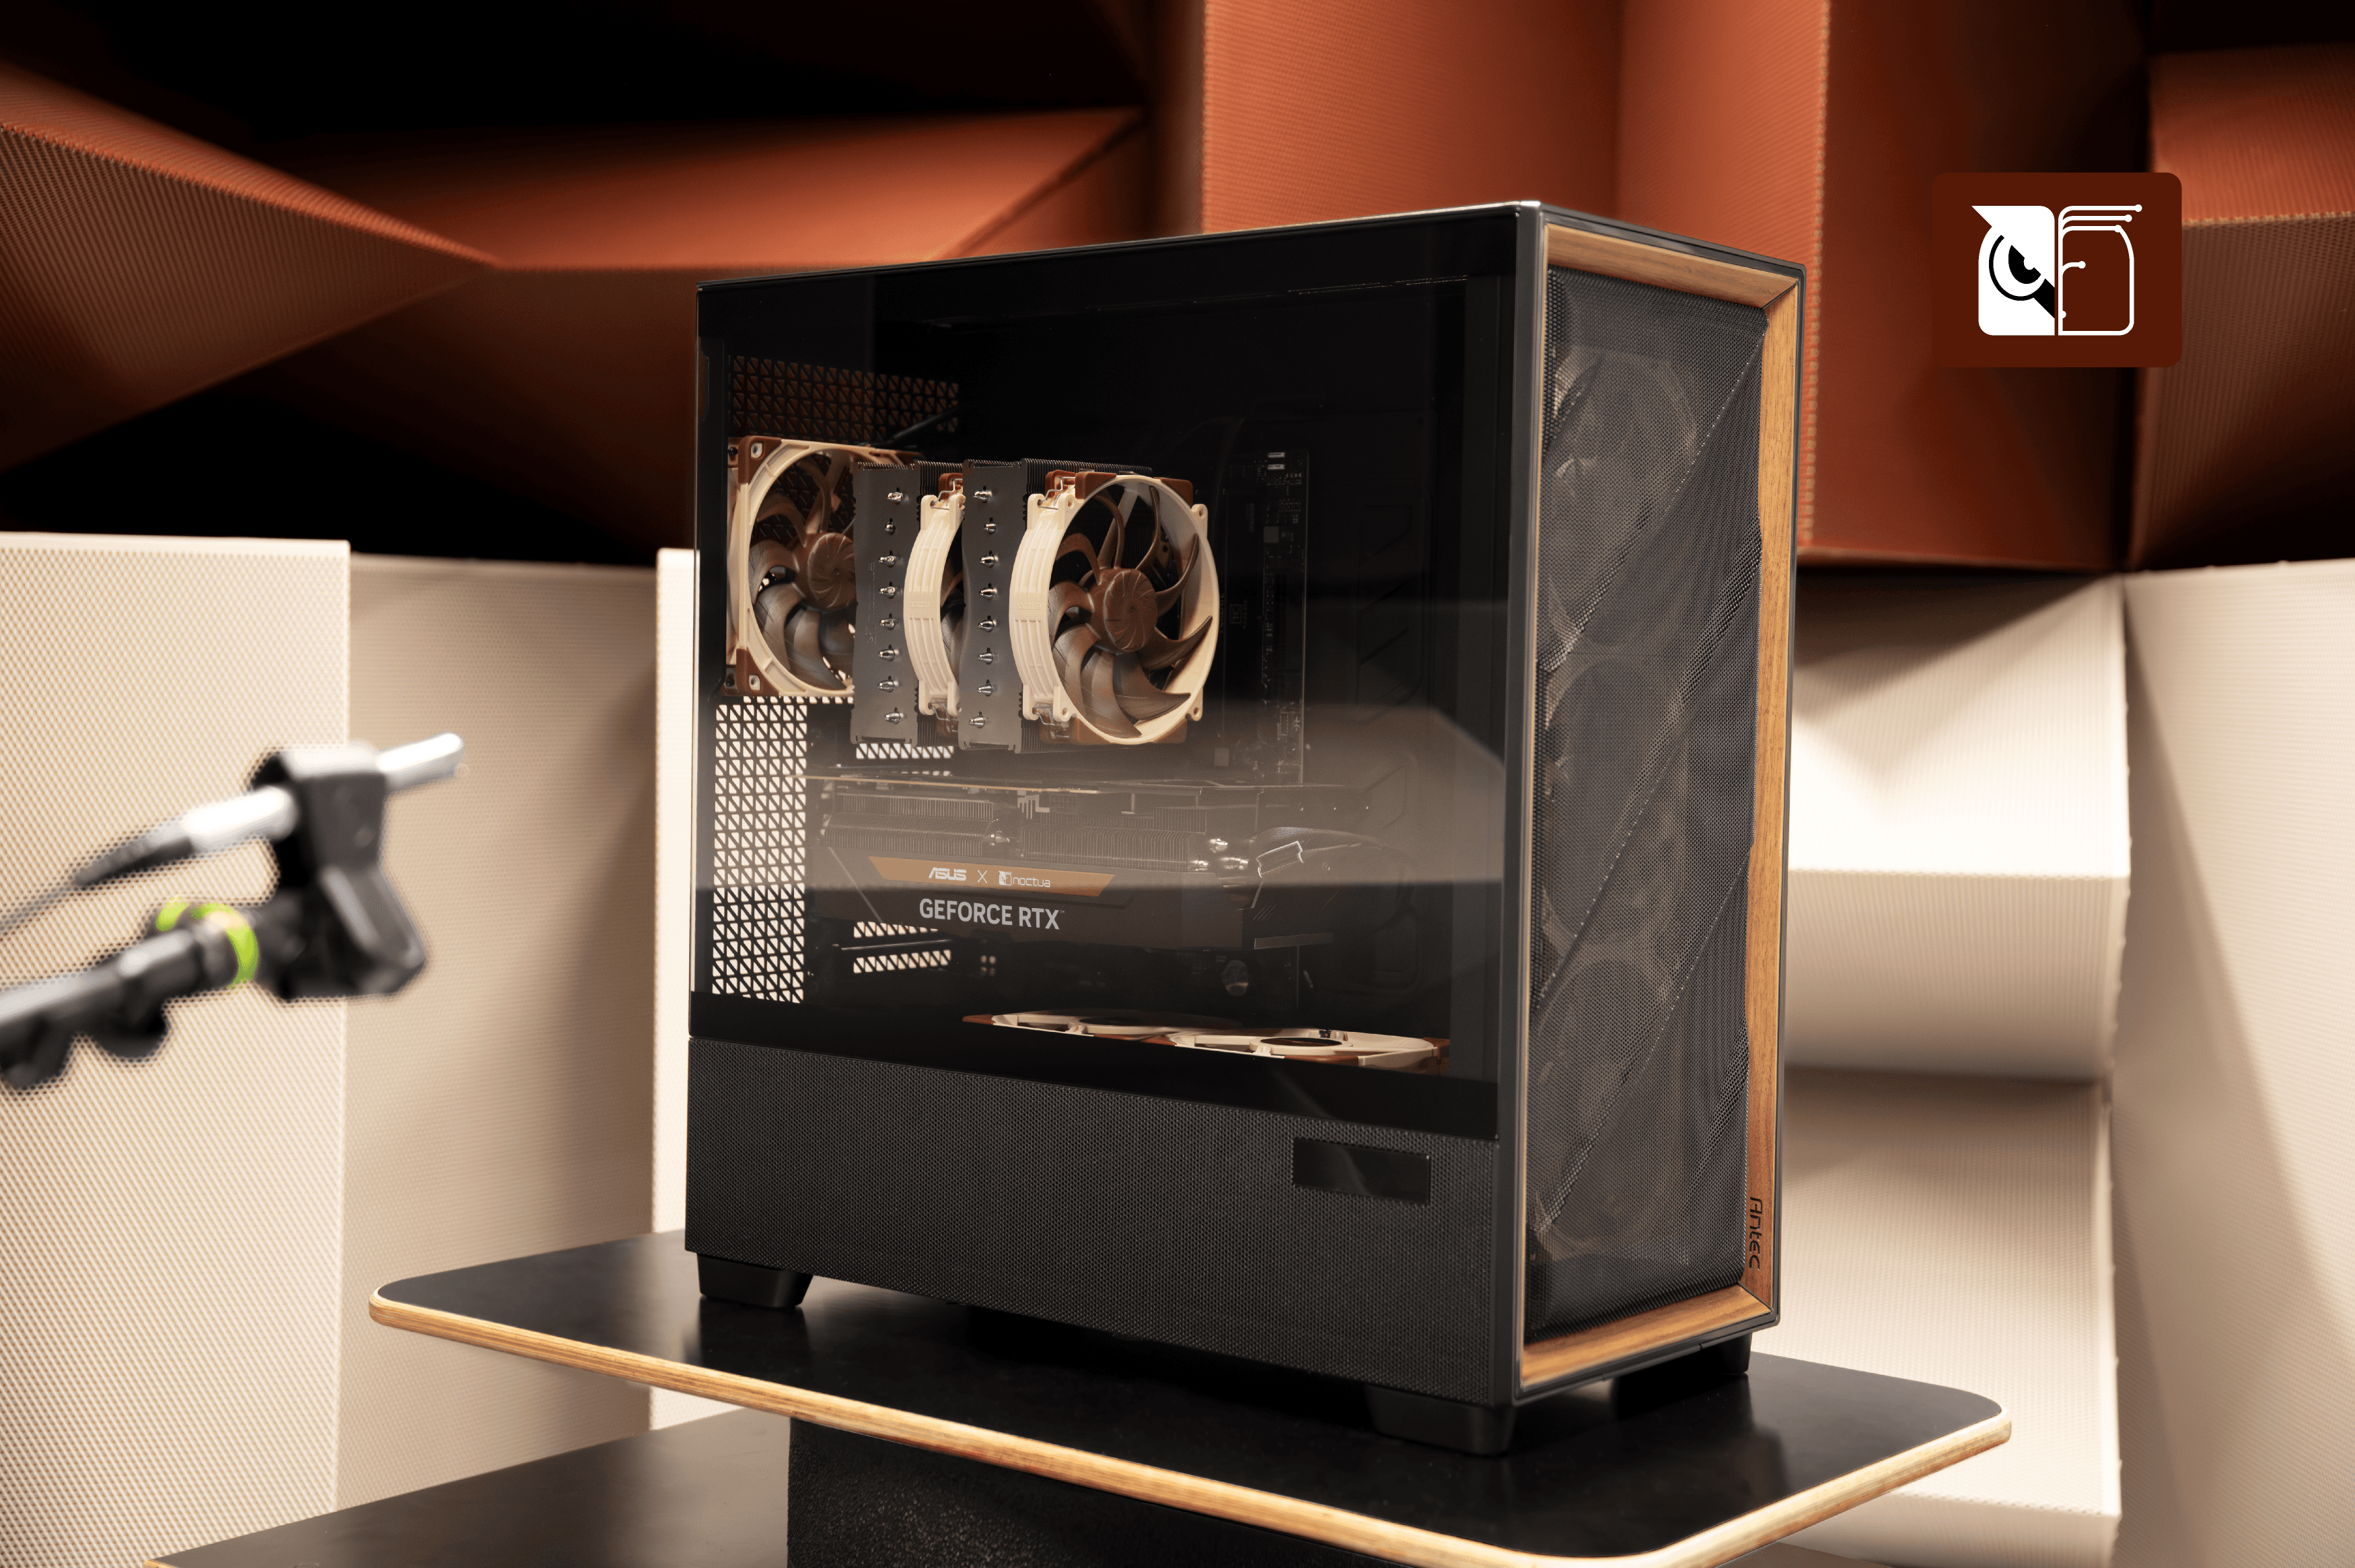
How much cooler and quieter is the Noctua Edition of the Antec Flux Pro?
The Antec Flux Pro Noctua Edition equips the highly acclaimed chassis with our latest flagship G2 fans to give users significantly quieter operation or cooler temperatures.
Should I add extra fans to my Antec Flux Pro Noctua Edition?
Adding more fans to the Antec Flux Pro Noctua Edition is not recommended, but two upgrade paths are worth exploring if you prioritise low temperatures over maximum quietness.