



Good airflow keeps your PC cooler, quieter, and more stable by helping fresh air reach your components while moving hot air out of the case. This two-part guide walks you through everything needed to build an effective airflow setup from core fundamentals like case fan count and sizes, to practical configurations including fan placement and case pressure management. We'll also cover essential maintenance tips, fan curve optimisation, and how cooling types, air versus water, influence your airflow planning. By the end, you’ll know how to plan an airflow configuration that suits your case, hardware and cooling goals.
Why good airflow matters
Creating a well-thought-out airflow setup guarantees that fresh air continuously enters your build, while warm air that has absorbed heat from the CPU, GPU and other components is expelled. This directed airflow is created by intake and exhaust fans that are ideally positioned at opposite sides in your case and can thereby create a mostly unobstructed flow.

Balancing airflow and noise
Higher airflow generally means higher fan speeds or a higher number of fans, which can increase noise. By selecting the right fans, positioning them wisely, and fine-tuning fan curves, you can achieve efficient cooling while maintaining a pleasant acoustic profile.
Steps for achieving a good airflow setup
1) Select a suitable case
When selecting a case model, ensure the case’s fan mounting positions have adequate ventilation. Solid or glass panels blocking the direct airflow path can restrict airflow. Mesh panels and other open designs are preferable, as they impose minimal resistance and allow stronger airflow. Tempered glass side panels are no issue as long as the front intake and rear/top exhaust airflow paths are sufficiently open.

Already think about fan placement as part of this first step. Most cases accommodate fans in the front, rear, top and sometimes even at the bottom or side.
When shopping for a case, check the manufacturer’s specifications for supported fan sizes and mounting points. Also ensure that your other hardware, such as your CPU cooler and graphics card, fit into the case.
2) Choose the right number of fans and plan the airflow path
Once you've decided on a case that supports good airflow, the next step is planning how air moves through the case. This comes down to two roles: An intake fan pulls fresh air from outside the case into the interior, while an exhaust fan pushes warm air from inside the case out to the exterior. If you are unsure about how to install a fan as an intake or exhaust fan, please refer to our FAQ on determining your fan’s airflow direction.
When it comes to the number of fans to install, there is no one-size-fits-all answer. As a solid baseline that works well for most builds, we recommend this configuration: With a total of 5 fans, install 3 intake fans in the front, and one each as rear exhaust and top exhaust.
You can also use as little as 3 fans (2 intake in the front, 1 exhaust in the back) for a more budget-restricted build, or as many as 6 to 8+ fans for high-performance builds.
Installing more case fans allows each individual fan to run slower so that the fans deliver the same airflow at reduced noise levels when compared to fewer but faster fans.
We cover fan configurations for various numbers of fans in part 2 of this FAQ.
Tip: Pay attention to your cable management. Having cables neatly routed will lead to fewer obstructions in the airflow, which reduces audible air turbulences.
3) Pick an appropriate fan size
Check your case’s manual or compatibility information for supported fan dimensions. The most commonly supported sizes are 120mm and 140mm. Occasionally, larger slots for 200mm fans may also be available.
Our recommendation: Use the largest fan size that fits a given slot. Larger fan blades move more air at a lower fan speed, which translates to better cooling and less noise.
4) Select suitable fan models
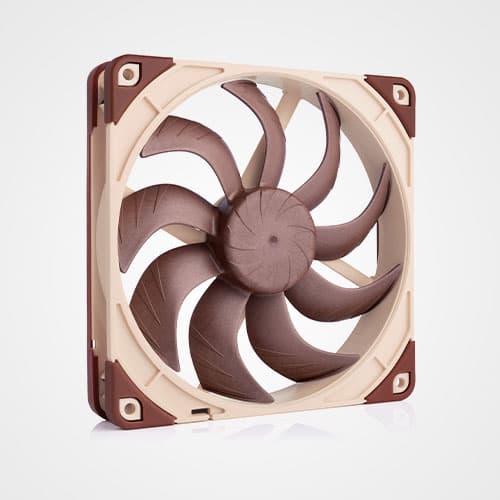
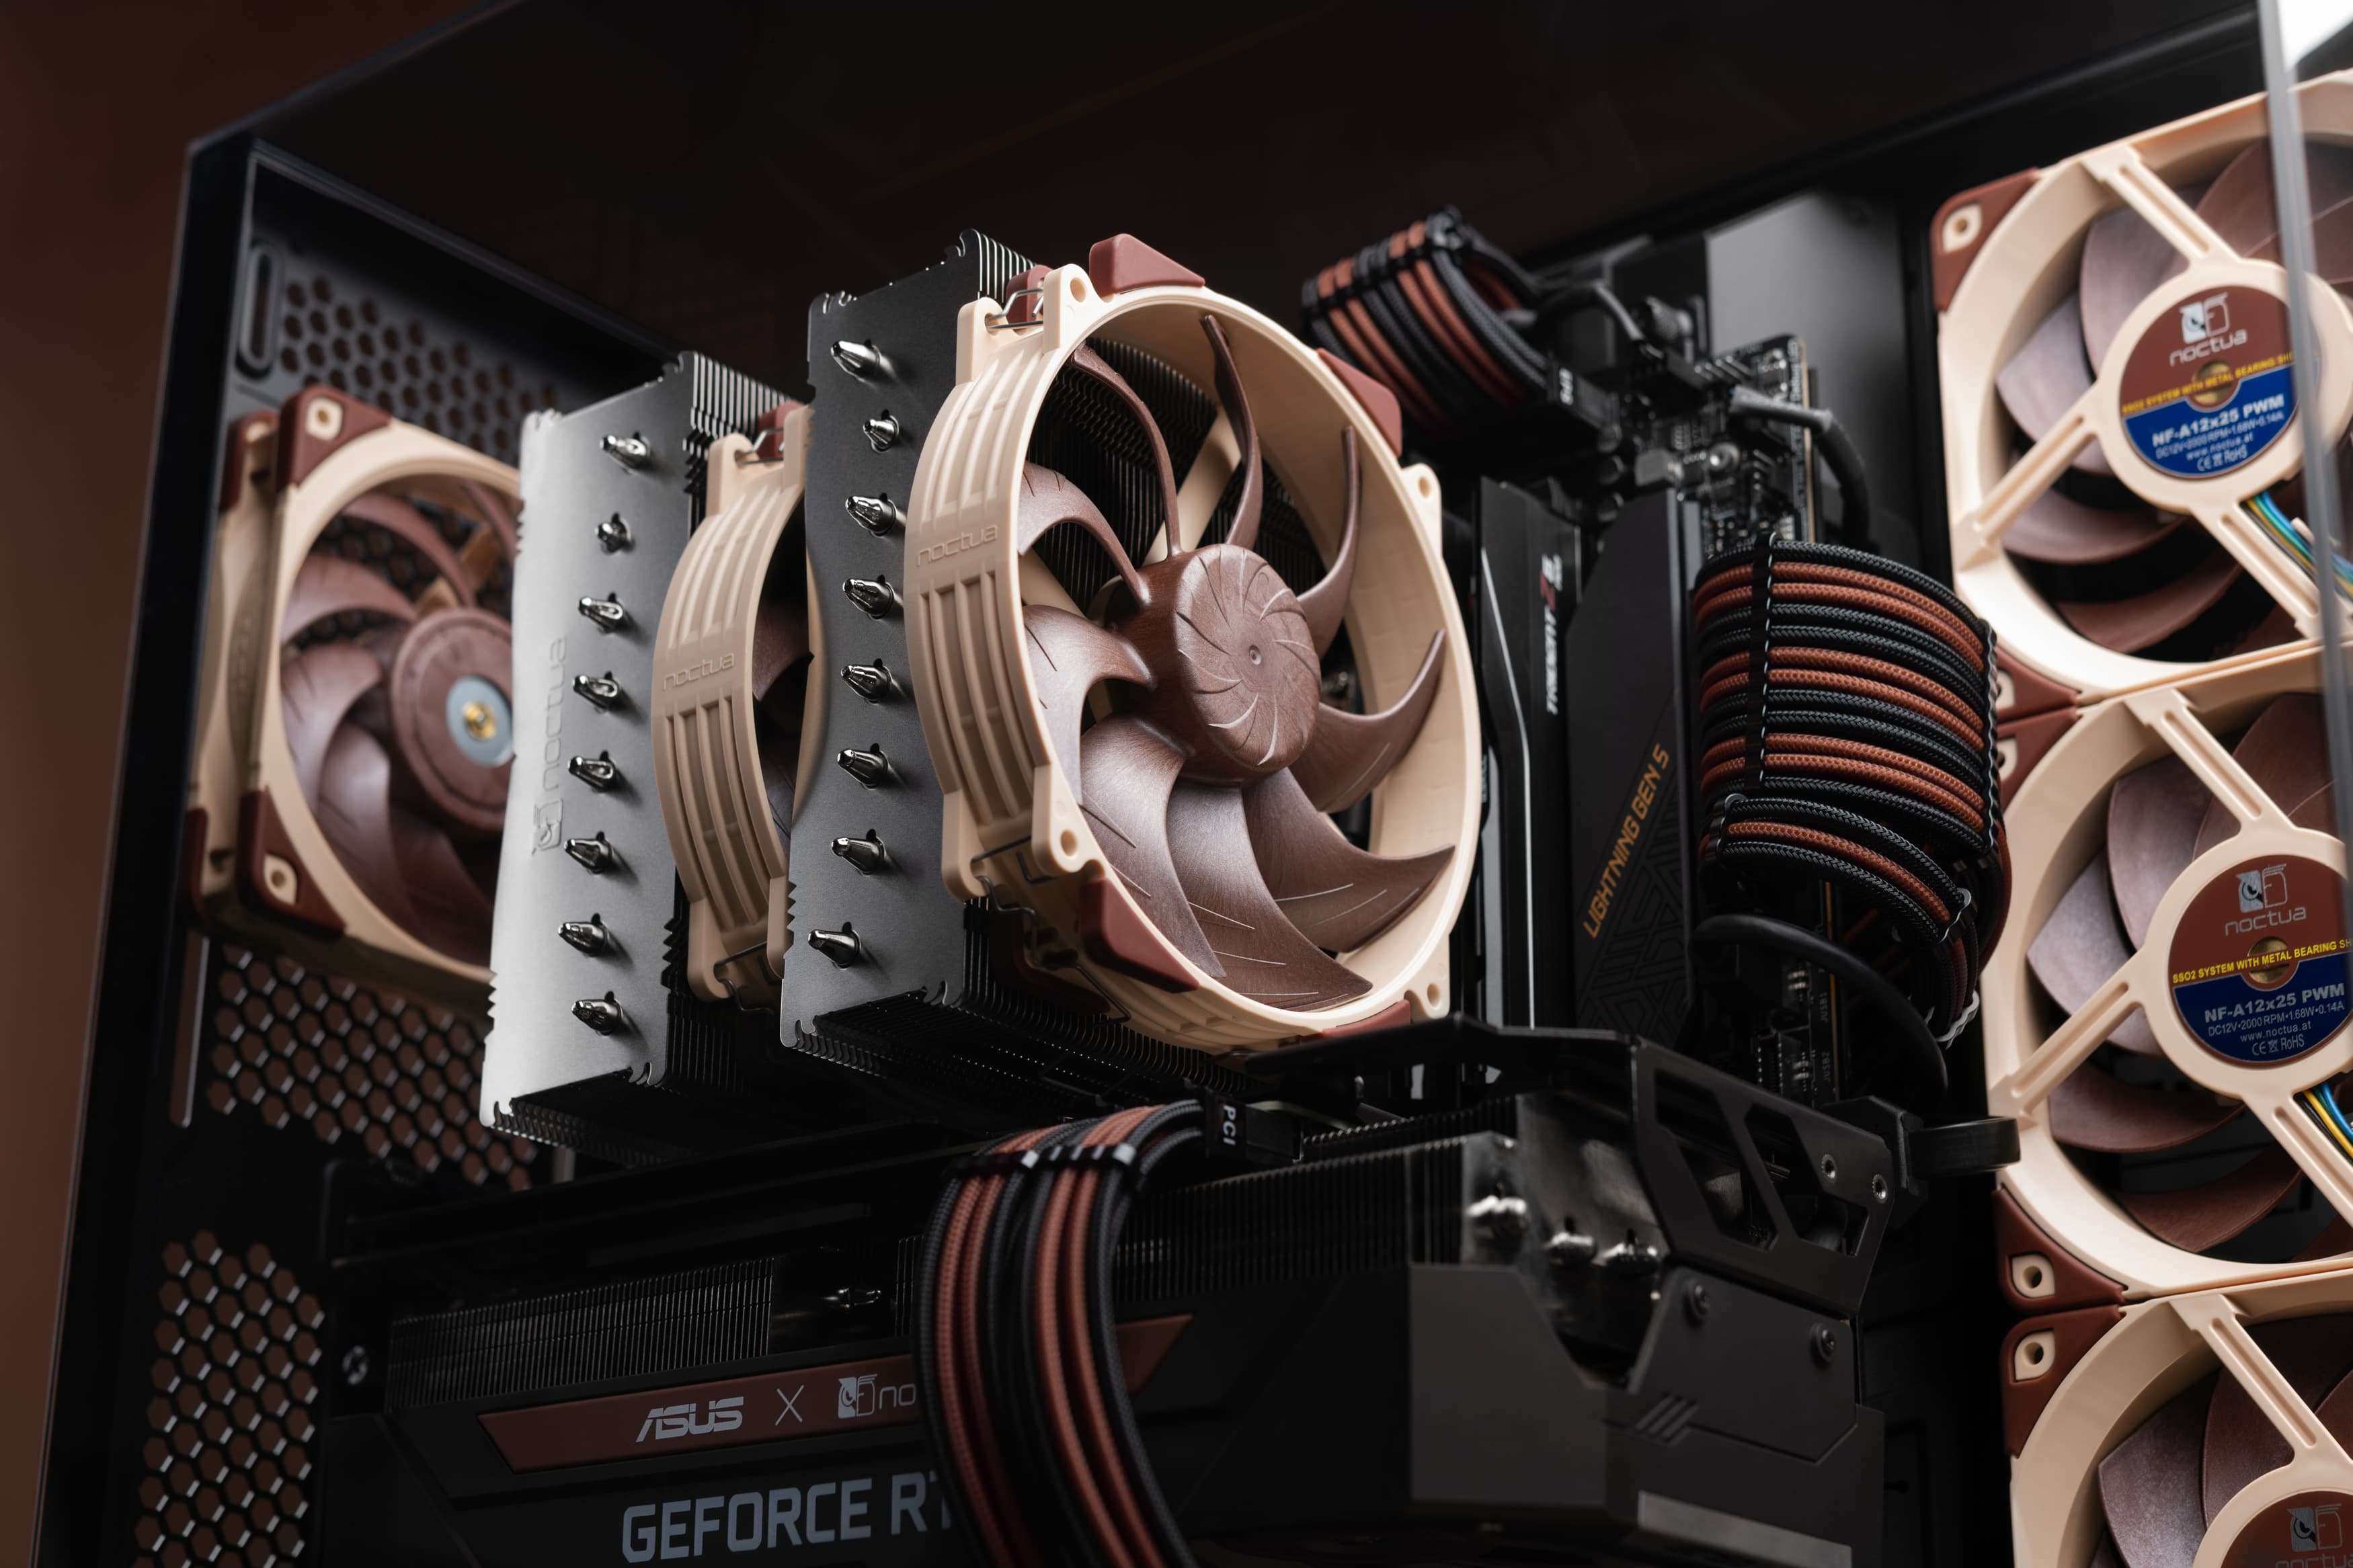
For most cases and mounting positions, including both open mesh panels and locations with dust filters, we recommend the NF-A12x25 G2 and NF-A14x25 G2 fans. These true all-rounders deliver excellent performance across a wide range of use cases
You can use our case fan buying guide to help you find the best model for your desired fan size and fan colour.
5) Set fan curves
Once you’ve assembled your build and all fans have been installed, set fan curves so that the fan speed is automatically adjusted based on your hardware temperature. Usually, the temperature of your CPU will be used. This way, your components are efficiently cooled during high loads, while your setup continues to operate very quietly in idle. For more information on setting fan curves, read our FAQ on optimising fan settings or take a look at our recommendations for fan curves in the Antec Flux Pro Noctua Edition case.
6) Clean your setup regularly
Dust buildup inside the case can significantly hinder your computer’s ability to stay cool. When you notice dust accumulating, carefully clean the interior using canned air. When using compressed air to clean a fan, it's mandatory to hold the fan blades to prevent them from spinning at high speeds to avoid bearing and hardware damage.
As a rough guideline, cleaning your PC every few months is usually often enough, but environmental factors play a big role here, of course.
Recap
Here’s a quick recap of the main points discussed in this article.
- Case: Check fan positions and fan sizes before purchase. Ideally choose a case that has relatively open, unrestricted airflow paths (e.g. a mesh front rather than a closed front panel). Pay attention to the compatibility with other components such as your CPU cooling solution and graphics card as well.
- Number of fans: Select a number of case fans based on your preferences and budget.
- Size: Use the largest diameter fan that fits each slot that you want to use.
- Fan model: Select a suitable case fan model by using our buying guide.
- Fan curves: Once your build is completed, set fan curves for your fans.
- Regular maintenance: Clean your PC when you notice a buildup of dust.
Read part two of our airflow guide for information on case pressure, air-cooling vs. water-cooling and fan placement recommendations.
Related articles
Want to learn more? Explore related articles and resources.
Which fan setup works best in the Fractal Design North?
20/03/2025
Fractal Design’s North case and our NF-A12x25 fans are a great match, both visually and from a performance point of view: But which configuration offers optimal performance?
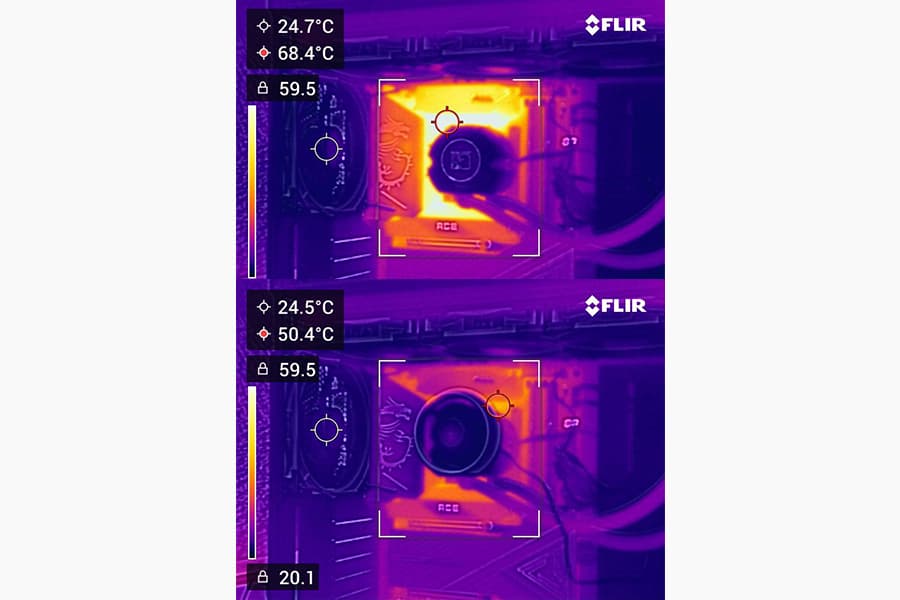
Should I use the NL-ACF1 auxiliary cooling fan?
The NL-ACF1 is an optional auxiliary cooling fan for NL-LC1 liquid coolers that provides extra airflow to near-socket compontents such as VRMs, M.2 SSDs or RAM.
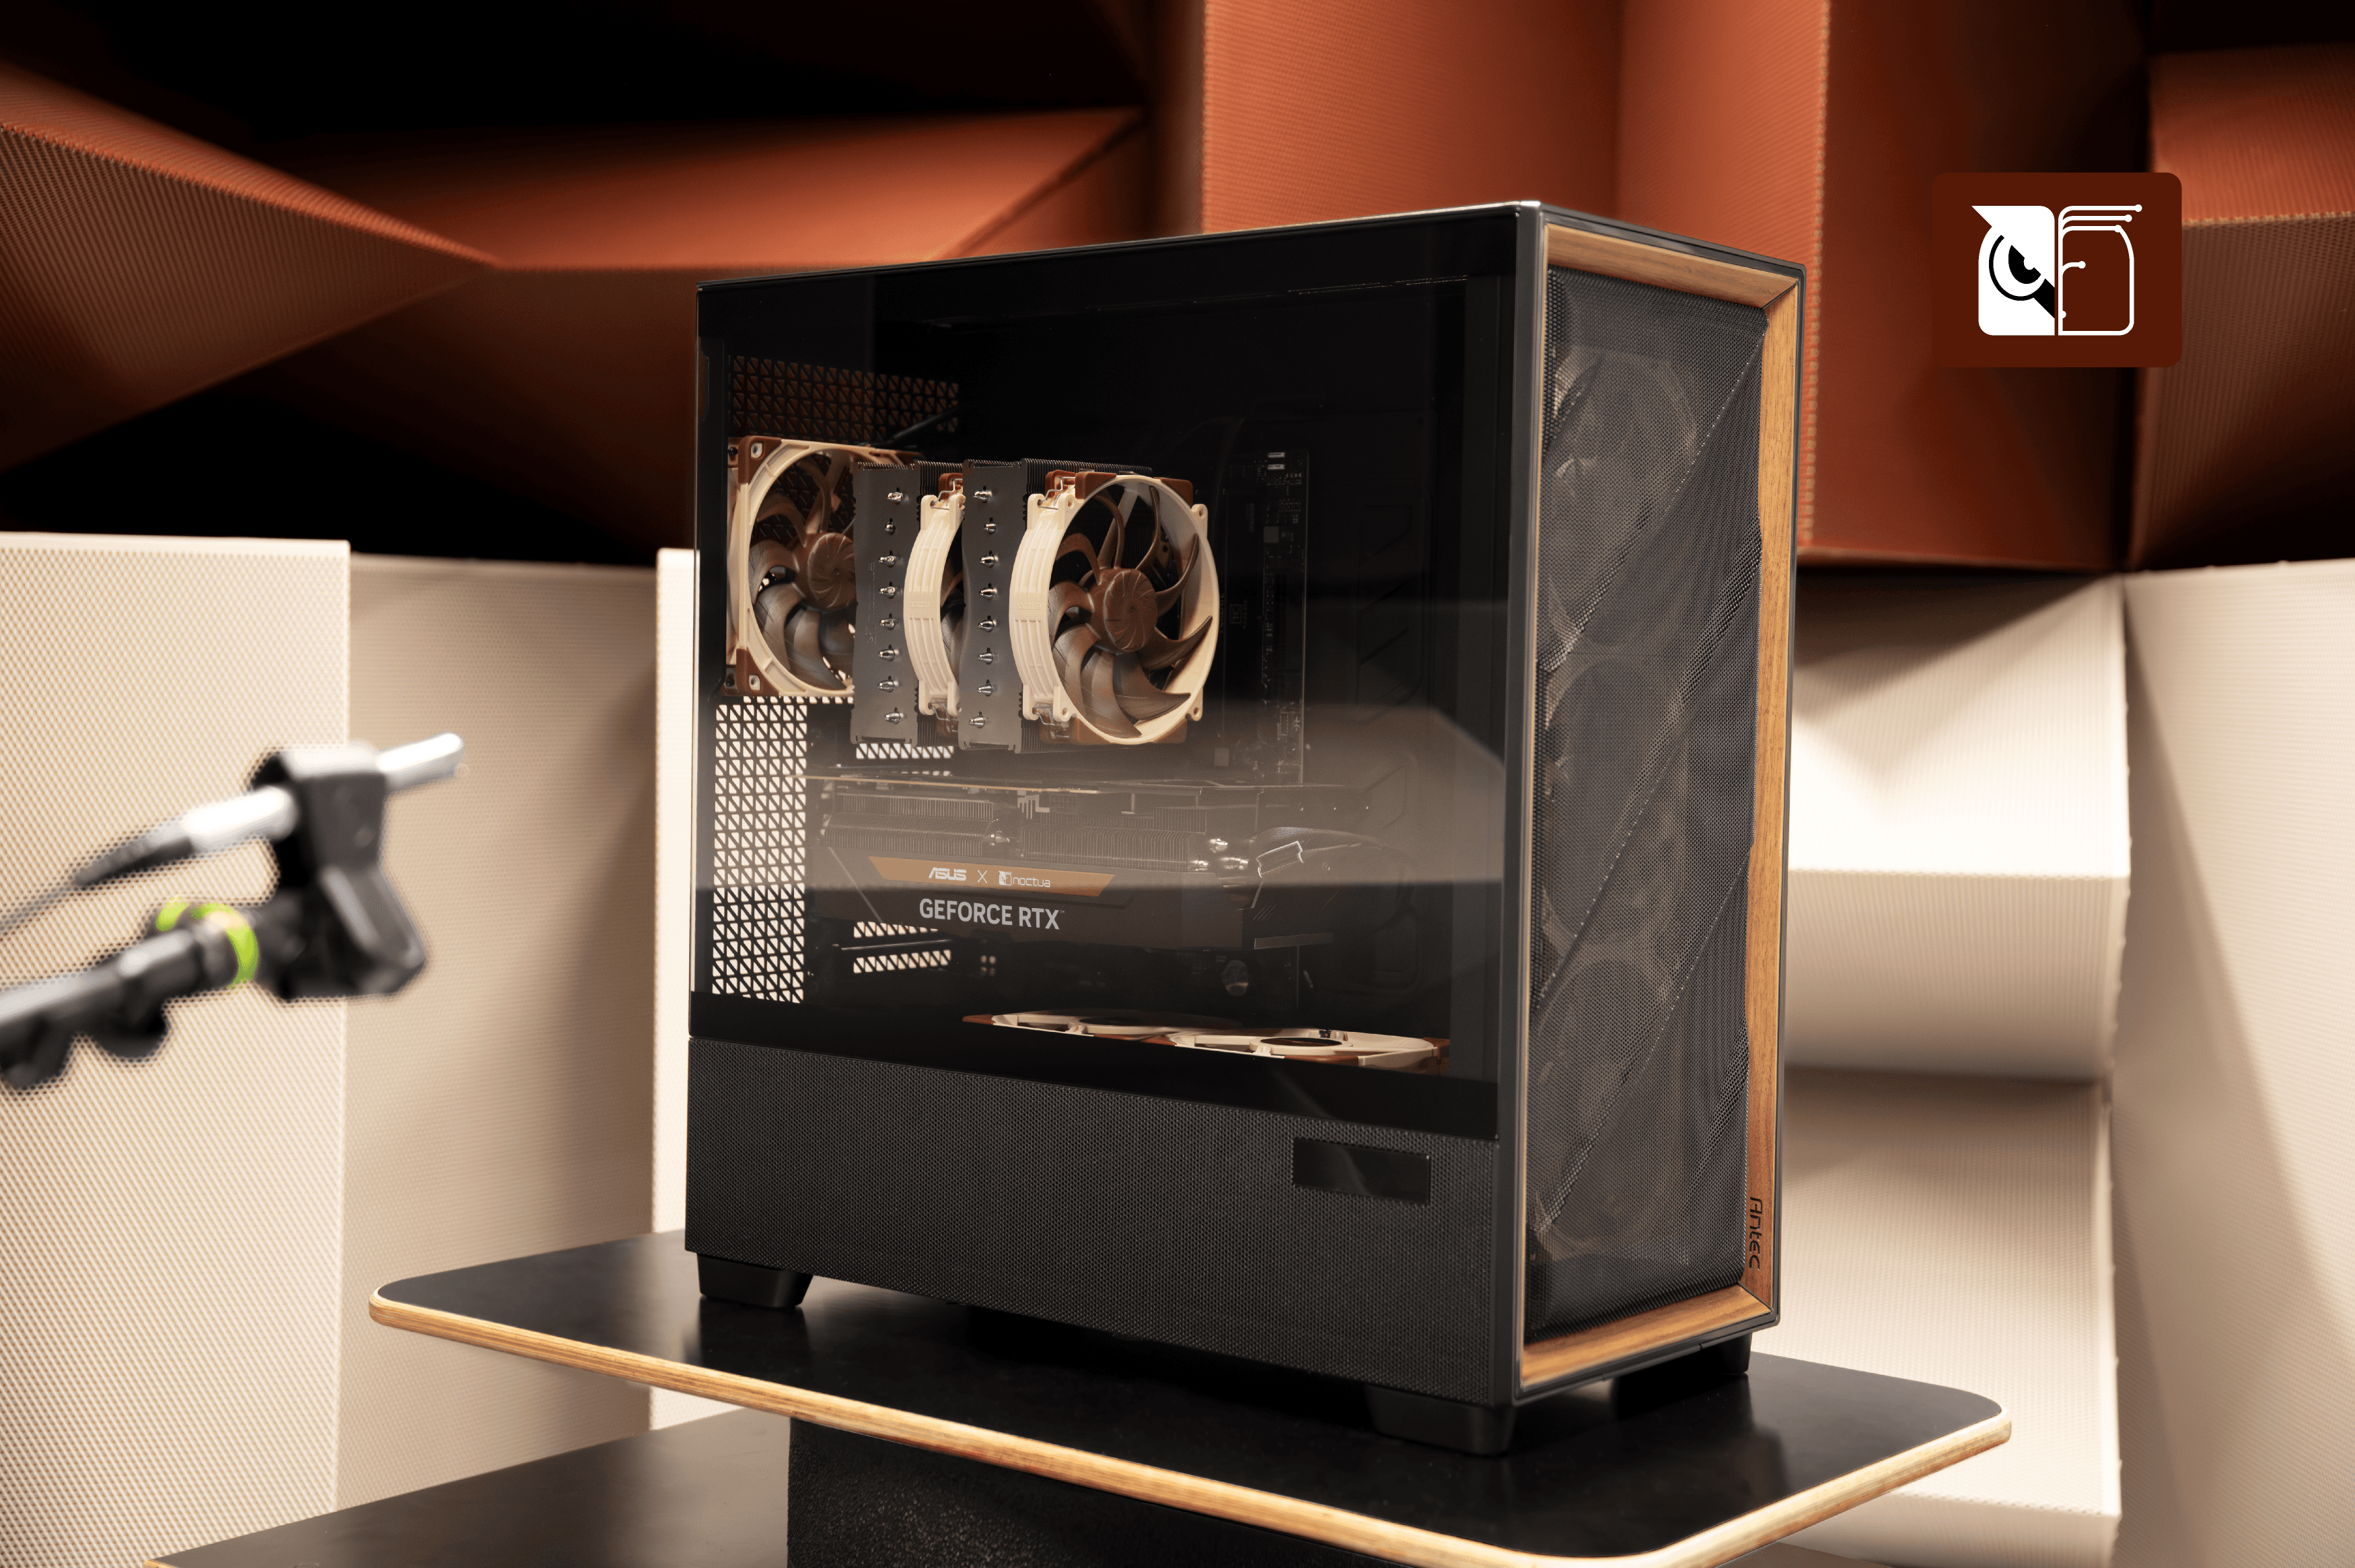
How much cooler and quieter is the Noctua Edition of the Antec Flux Pro?
The Antec Flux Pro Noctua Edition equips the highly acclaimed chassis with our latest flagship G2 fans to give users significantly quieter operation or cooler temperatures.
Should I add extra fans to my Antec Flux Pro Noctua Edition?
Adding more fans to the Antec Flux Pro Noctua Edition is not recommended, but two upgrade paths are worth exploring if you prioritise low temperatures over maximum quietness.